

Learn How to Clean Foggy Headlights Easily
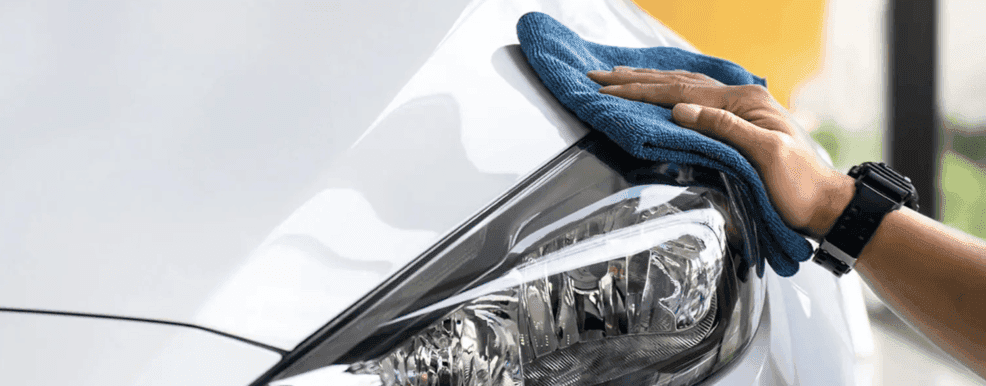
Photo Source/Copyright: [INSERT]
You usually notice it on a dark highway first: the road ahead looks noticeably dimmer, and the next afternoon in a parking lot you spot that yellow, chalky crust baked across your headlight lenses. The good news is that cleaning foggy headlights takes only a Saturday, some elbow grease, and a few basic supplies from the auto parts store. Most guides skip the single most critical step, though: the exact step that stops the haze from creeping right back.
Almost every modern headlight lens uses polycarbonate instead of glass. Automakers made the switch decades ago because polycarbonate is lighter and far tougher, meaning stray highway gravel bounces off rather than shattering the housing.
The catch is sunlight. Raw polycarbonate can’t handle ultraviolet (UV) rays, so the factory sprays a thin, clear protective coating over the lens. Over time, blazing sun, road grit, and weather wear that sacrificial layer away. Once it’s gone, the bare plastic underneath oxidizes. That’s the fog.
Before grabbing sandpaper, check where the haze lives. Exterior oxidation buffs out easily at home, but moisture or yellowing sealed inside the assembly can’t be polished away and requires a replacement.
Essential Supplies
Most of what you need is probably sitting on a shelf in your garage already:
- Two or three clean microfiber towels
- Mild car-wash soap (skip dish soap and degreasers)
- Painter’s tape to shield adjacent body paint
- Spray bottle filled with clean water
- Protective gloves
- Headlight restoration kit containing sanding pads, polish, and UV sealant
Matching the Fix to the Haze
Not every cloudy lens requires aggressive sanding. A quick fingertip test tells you where yours lands:
| Haze Level | What You’ll Notice | Recommended Fix |
|---|---|---|
| Light | Slight dullness, smooth to the touch | Rubbing compound and UV sealant (toothpaste works as a diagnostic) |
| Moderate | Yellow tint with a rough, gritty feel | Wet-sanding progression, polish, and UV sealant |
| Severe | Condensation, cracks, or yellowing inside the lens | Professional assembly replacement |
Step-by-Step Restoration
Set aside an unhurried afternoon in a shady spot, and read your kit’s instructions before opening any bottles.
- Wash and dry: Clean the entire housing thoroughly with mild soap and water, then dry it completely.
- Mask the paint: Run painter’s tape around the outer edges so abrasive pads never touch painted fender panels.
- Wet-sand the lens: If the surface feels gritty, lubricate the plastic with water and sand in straight, alternating strokes. Progress through coarse to fine pads, keeping the surface wet the whole time.
- Wipe clean: Remove every trace of slurry with a damp microfiber towel so the bare plastic is completely clean.
- Apply UV sealant: Coat the lens evenly with UV sealant and let it cure according to the label. Sanding strips away the remaining factory UV barrier; skipping this step guarantees the cloudiness returns within months.
Note that GM guidance warns against using abrasives for routine washing. Sanding is strictly for lenses where the factory clear coat has already degraded.
Keeping Headlights Clear
To preserve your finish, wash gently with soft mitts, park in garages or shade, and point the vehicle’s nose away from direct sun. Reapply UV protection on the schedule recommended by your sealant manufacturer. Even high-end setups, like the LED projector low beams on certain Silverado 1500 trims, still shine through polycarbonate lenses that demand identical care.
If your headlights suffer from internal moisture or deep cracking, polishing won’t save them. Replacement GM Genuine Parts headlamp assemblies carry a 24-month, unlimited-mile warranty (with labor covered when dealer-installed), giving you factory-spec visibility without the guesswork.
Clear Headlights
Not sure which row of that table your headlights fall into? Swing by, and our Chevrolet service team will take a look, restore what can be saved, and source genuine parts for what can’t. Schedule your visit today.
More From Southern Chevrolet
Silverado Texas Edition: Complete Truck Buyer Guide
Photo Source/Copyright: USA Today Drive around Dallas or Houston long enough, and you’ll spot a Silverado sporting a Texas Edition badge on its fender. Most truck shoppers across the country never see one on a dealer lot, and that exclusivity is by design. Chevrolet restricts this regional bundle to dealerships across Texas, Oklahoma,…
Top Features of Chevy Silverado High Country
Photo Credit: Car and Driver Taking a Closer Look at the Chevrolet Silverado High Country Shopping for a full-size truck used to mean choosing between utility and comfort. You either bought a bare-bones workhorse with vinyl seats, or you gave up towing capacity for a luxury SUV. The Chevrolet Silverado High Country erases…
Jeep Renegade Price Guide: Trims and Features
Photo Source/Copyright: JEEP The Jeep Renegade has long stood out as the “little engine that could” in the Jeep lineup, blending the brand’s legendary off-road DNA with a compact, city-friendly footprint. Whether you’re navigating the tight streets of Newport News or heading out for a weekend at the coast, the Renegade offers a refreshed…